Your session checklist
Tick a row only after your own game confirms the job or the optional objective. Progress is saved in this browser and is not read from Steam or a save file, so clearing the boxes will not change your game.
Banana and firework counts by location
Banana peels and fireworks are optional searches within each location. They are not the same counter as the named jobs, and a market delivery to the office is not a hidden banana. Finish the relevant optional set before leaving if that is the reward you are pursuing.
The player guide maps these extras separately from ordinary job variants. Use its fixed-landmark overview as a search aid, then let your current counter confirm each hit. The fact that a named job can move between runs does not make every collectible position unknowable.
| Location | Banana peels | Fireworks |
|---|---|---|
| Perky Park | 5 | 5 |
| Happy Harbour | 10 | 10 |
| Funky Farm | 10 | 10 |
| Vibrant Village | 10 | 10 |
| Central City | 10 | 10 |
| Aces Airport | 10 | 10 |
Perky Park: a five-area banana sweep
Start wide enough to see both fountains, the central path and the playground. The five marked placements in the player guide are spread across the back and right side of the park, rather than concentrated at the nearest fountain. Move the scope in one direction and check the counter after each peel.
Use these landmark areas to organise the sweep. Small yellow objects compete with hats, flowers and other scenery; zoom in and identify the peel before firing. If you have four of five, retrace the same five areas instead of searching only the closest benches.
| Area | Where to look |
|---|---|
| Playground side | Around the rear-left trees and swing/play area |
| Middle benches | The seating just left of the central path, behind the foreground fountain |
| Right pavilion | The rear-right seating and trees near the small covered structure |
| Right fountain approach | The path and seating above the right-hand fountain |
| Far-right lawn | The grass beyond that fountain towards the edge of the map |
Happy Harbour: do not stop at the shoreline
Happy Harbour has ten banana peels. A useful sweep starts on the lighthouse-side shore, crosses the left jetties and boat decks, then follows the central quay before checking the right cargo-ship and crane side. The large whale is also a search surface: do not treat the water as empty space between jobs.
The player guide’s two overview images divide the harbour into left and right views. That is a reminder to turn across the whole scene. A narrow scope on the centre road can miss the cargo ship, the outlying pier and the lighthouse approach in the same run.
Keep banana peels separate from banana-like decorations, the clownfish job and the Answerphone parcel. Use the optional counter after each shot. For a numbered taped box, switch to the Groovy Gizmo guide rather than trying to complete the banana list with delivery crates.
- Lighthouse-side shore and wall
- Left jetties, small boats and deck clutter
- Central quay and its waterfront edges
- The whale and other large foreground surfaces
- Right cargo ship, crane-side pier and container area
What the Game Rewards You For
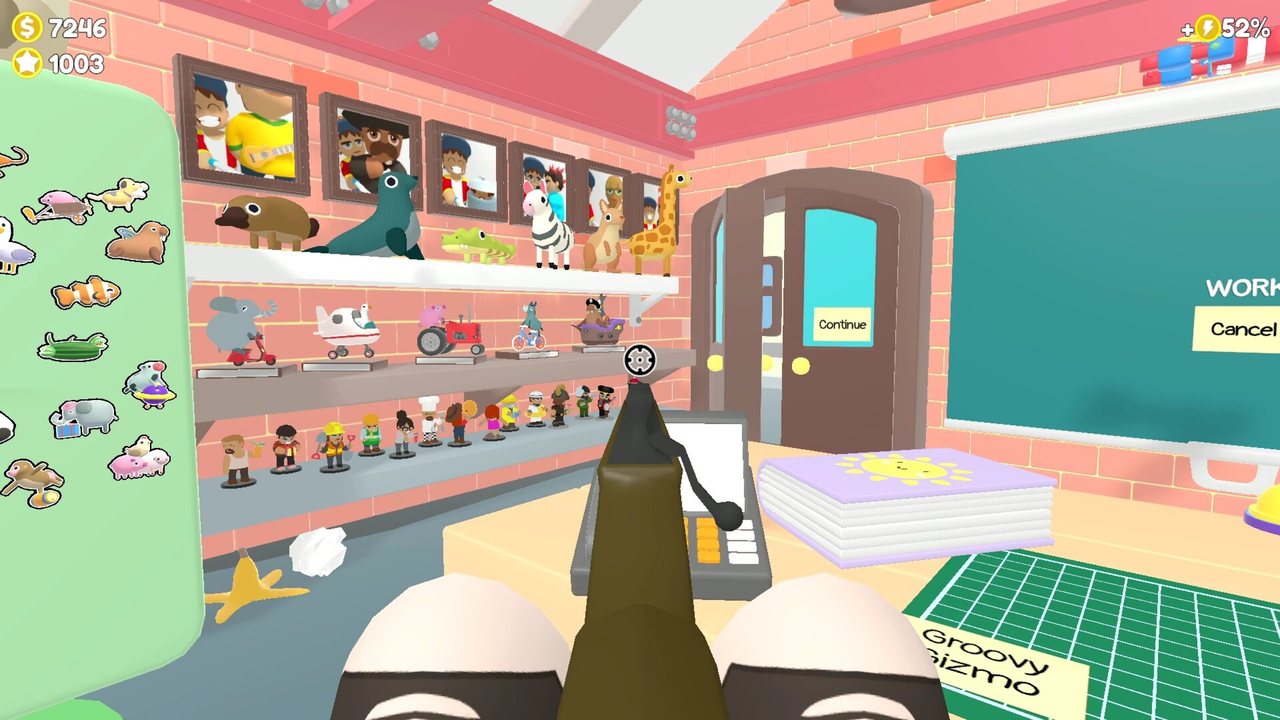
Jobs pay cash and reputation, and the office turns those into compounding advantages. Most decorations add a small permanent bonus to what each completed job pays out, and the office view shows the total as a percentage rather than a list. Rifle parts that cut reload time or add rounds to the magazine reduce the number of shots a puzzle takes, which feeds straight back into your rating.
Prizes arrive in two ways. Parcels turn up at the office from Magic Market and you shoot them open, and some carry trophies worth showing off: magnets, plushies and gacha pon dolls. Those have nowhere to live until you own the shelf and the fridge, so displaying them is a spend-then-show loop rather than a pure collection. A second track rewards cumulative play, with one prize handed over for an earnings milestone and another for a number of market purchases.
Photo spots are a separate system from the loot. Camera markers and signs stand in the scenes, and the fancy camera sold at the market is what turns them into something you can photograph to record a shift; players describe it as the reason those spots exist. Achievements include distinct reward tracks: office displays, optional searches and special jobs. Work towards the named requirement rather than treating every unusual prop as the same kind of collectible.
Patch #1 (V43, September 24) repaired one display bug in that loop: the Jiangshi achievement could unlock without ever appearing on the fridge. The fridge is where unlocked achievements are meant to show up, so re-check yours after the update if one seemed to go missing.
Keep the different reward tracks separate
The seven boxes at the top of this page are your browser checklist. They do not read a Steam save or mark an in-game collectible as found. Use the location’s optional counter for banana peels and fireworks, the Answerphone counter for Gizmo parts and the office displays for earned prizes.
The nine-part Groovy Gizmo assignment begins with the office phone. Its search can select a different scene and object placement on another visit. Check the parcel picture, enter through the door and bring back the requested part; it is not a hunt for nine boxes at once in Happy Harbour.
Finish optional searches before the final main objective sends you back to the office. When returning later, inspect the active day and current notes rather than assuming that an earlier incomplete list is still selected.
Find the parcel route at /guides/groovy-gizmo/ and named harbour jobs at /guides/happy-harbour/.
Follow the phone-and-door loop and five map landmarks in the nine-part Groovy Gizmo guide ↗.
Further viewing and references
For precise targets, compare your own current mission against the source footage. Older demo material and screenshots may differ from the full release.